This is a collaborative post.
Getting the girls into arts and crafts always seemed such an easy way to keep them occupied when they were small and as they grew older. It obviously paid off as 2 out of the 3 have gone on to study Art A Level and one now has a degree in Architecture – We always tell her that its basically sticking and glueing at a higher level! Who knows where an activity that you do with your child can lead?
This private school in Cheshire shares some arts and crafts activities to explore with your child that are both fun and educational. You may choose to do arts and crafts at home or as part of an After School Club – the most important thing is that
1. DIY Nature Collage
A nature collage is a brilliant way to introduce arts and crafts to children from a very young age. Our children loved being involved right from the start by actually collecting leaves from the garden and acorns or pine cones that could later be painted or covered in glitter.
Once the craft activity was finished, we would often hang the pine cones or acorns in their rooms or take the finished pictures to grandparents for display on their fridge.
Materials Needed:
- Paper or cardboard
- Glue
- Various natural items (leaves, flowers, twigs, pebbles, etc.)
Instructions:
- Explore Outdoors: Take a walk in your garden, a park, collecting various items that catch your child’s eye.
- Plan the Collage: Arrange the collected items on the paper or cardboard, experimenting with different layouts.
- Create: Once your child is happy with the arrangement, glue or tape the items onto the paper.
2. Handprint Art
Handprint art is a simple yet delightful way to create personalised art pieces. We used to love painting the girls’ hands and making prints then adding faces to the hands.This activity is again perfect for younger children.
Materials Needed:
- Non-toxic paint
- Paintbrushes
- Paper or canvas
- Markers or crayons
Instructions:
- Prepare the Paint: Pour the paint onto a flat surface or paper plate.
- Create Handprints: Help your child dip their hands in the paint and press them onto the paper or canvas to create handprints.
- Add Details: Once the paint dries, use markers or crayons to add details, turning handprints into animals, trees, or any imaginative creation.
- Display: Frame the finished artwork or hang it up as a keepsake.
3. Paper Plate Masks
Transform simple paper plates into fun and imaginative masks. The masks can be decorated according to the seasons – for example you could add a Christmas hat or paint the plate orange to look like a pumpkin around Halloween.
Materials Needed:
- Paper plates
- Paint, markers, or crayons
- Scissors
- Glue
- Decorative items (feathers, glitter, yarn, etc.)
- Elastic string or ribbon
Instructions:
- Design the Mask: Decide on a character or theme for the mask (animals, superheroes, etc.).
- Decorate: Paint or colour the paper plate to create the base of the mask.
- Add Features: Cut out and glue on additional features like ears, noses, or whiskers using construction paper or other materials.
- Attach String: Punch holes on the sides of the plate and tie the elastic string or ribbon to create a wearable mask.
Have you signed up to our newsletter to never miss a post? Click HERE to join up.
4. Edible Art
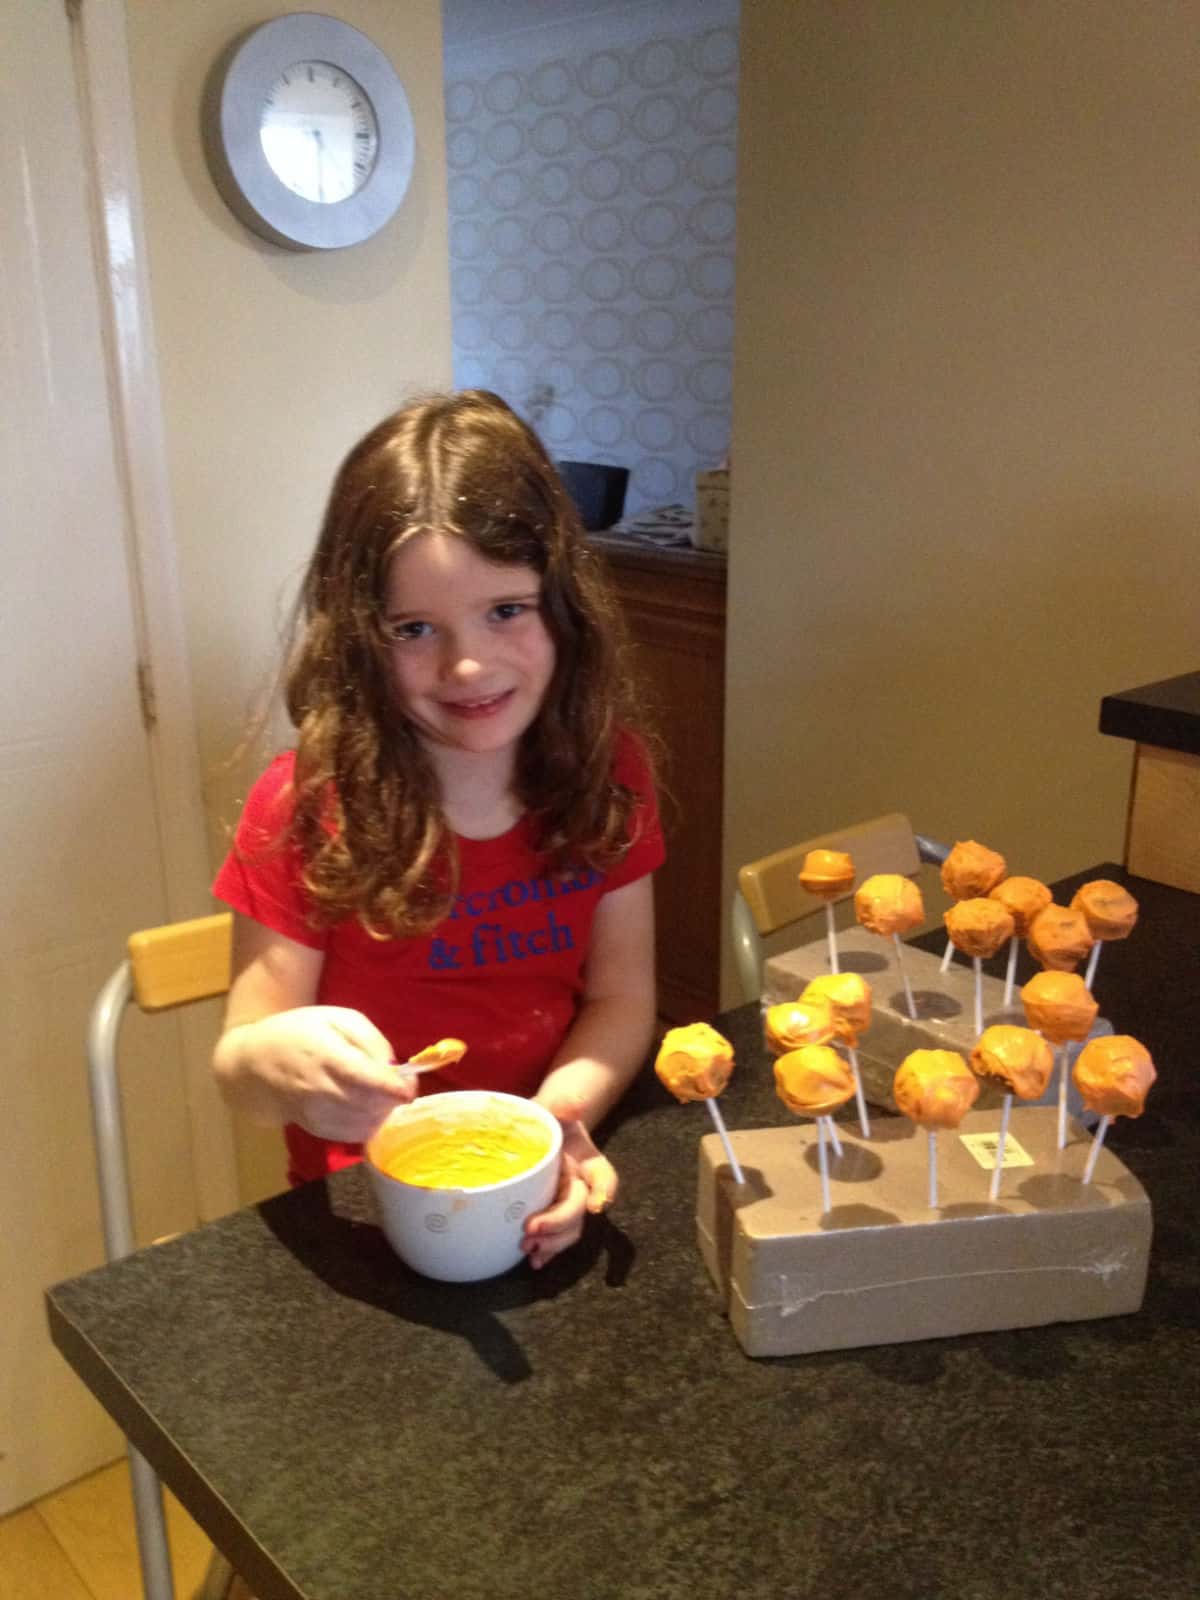
Being a cake decorator, I always had a steady supply of fondant icing or marzipan on hand and often handed some over to the girls when they were small to make their own models.
There was no concern that they may put some into their mouths as it was all edible. We even used food colourings to make sure all the colours were edible too.
Quite often they copied the models that I was already making, which were very cute end products.
Materials Needed:
- Marzipan or fondant icing
- Edible Glue
- Food colouring
- Children’s knives or scissors
5. Salt Dough Ornaments
Salt dough is an easy and versatile material for creating ornaments that can be painted and decorated. This activity is perfect for making personalised gifts or holiday decorations.
Materials Needed:
- 1 cup flour
- 1/2 cup salt
- 1/2 cup water
- Cookie cutters
- Paint and brushes
- Ribbon or string
Instructions:
- Make the Dough: Mix flour, salt, and water in a bowl to create the dough.
- Roll and Cut: Roll out the dough and use cookie cutters to create shapes.
- Bake: Place the shapes on a baking sheet and bake at 200°F (93°C) for 2-3 hours until hard.
- Decorate: Once cooled, paint and decorate the ornaments.
- Hang: Attach ribbon or string to hang the ornaments.

About 2 Adults 3 Children
2 Adults 3 Children is a family with 3 daughters, aged 13+. They live near Liverpool and share the best events happening in the North West plus their travels further afield.
6. Recycled Art Projects
Every parent knows the feeling when you turn up to school and your little one has been creating masterpieces with cardboard boxes and tubes! Schools definitely like to turn everyday recyclable items into unique art projects. This activity teaches children about recycling and sustainability while sparking creativity.
Materials Needed:
- Recyclable items (cardboard, plastic bottles, paper rolls, etc.)
- Glue, tape, or staples
- Paint, markers, or crayons
- Scissors
- Any additional decorative items
Instructions:
- Collect Materials: Gather various recyclable items from around the house.
- Plan the Project: Discuss and plan what to create—a robot, a birdhouse, or any imaginative creation.
- Build: Use glue, tape, or staples to assemble the recycled items into the desired shape.
- Decorate: Paint and decorate the project to bring it to life.
WAYS THAT YOU CAN GET INVOLVED WITH 2 Adults 3 Children
- Sign up to our newsletter for periodic news updates
- Please leave a comment if you have tried one of our tips to let us know how it went
- Subscribe to our 2 Adults 3 Children Facebook Page
- Sharing is Caring – Let your friends & family know about a place they might enjoy
- Follow us on any of our social media channels:


